

")
One of the first things you’ve probably learned as an entrepreneur is that having a solid process to acquire customers is nearly as important as delivering a great product or service.
For many businesses, digital marketing is their primary way of doing so. For them, having the right digital marketing strategy in place can make the difference between thriving and failing.
In this post, we’ll show you the five steps to create a digital marketing strategy from scratch based on your business goals and audience. And, most importantly, how to optimise it over time so that you can attract high-quality leads consistently for the lowest possible cost.
A tip here, make sure you have Google Analytics installed on your site and understand the right setup for your GA4 reports so that you can analyse your efforts.
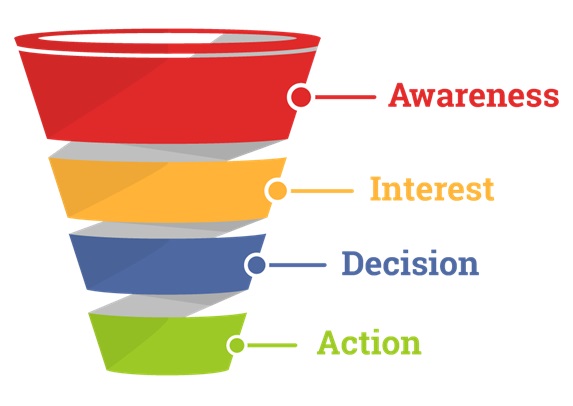
Step #1: Get clear on your audience and campaign goals
The first step consists of understanding who your target customers are and what you want to achieve with them.
To understand your audience, ask yourself:
- What are their demographics?
- What are their interests?
- What problems/goals are they trying to solve or achieve with your product or service?
Then, figure out what goals to consider when creating your digital marketing strategy.
For example, are you trying to convert your leads right away, or do you need to start a relationship and build trust before attempting it?
While a restaurant might be able to convert a customer shortly after they’ve been exposed to it for the first time, the same isn’t true for a real estate business.
Your business goals and the number of steps that your prospects have to go through before making a decision should help you determine that.
With those two things in hand, it’s time to move to the next step.
Step #2: Pick your channels
Here are the 5 types of digital marketing:
- SEO (Search Engine Optimization)
- PPC (Pay-per-click campaigns)
- Social Media Marketing
- Content Marketing
- Email Marketing (EDM)
Each type has its pros & cons, requires different resources, and works best for certain audiences and campaign goals. To pick the best ones for you, go back to the assessment you’ve made on step one.

For PPC, social media marketing, and content marketing, you’ll also need to go a step further and decide which channels to use.
Your choice must be aligned with where your target audience spends the most time and which campaign goals each channel is best for.
For example, while Facebook and Instagram have relatively similar audiences, the former usually brings better results for conversion-focused campaigns. At the same time, the latter is great for creating brand awareness due to its stronger appeal for visual content.
Step #3: Create your communication strategy
Your communication consists of your campaign’s words, language, and non-verbal aspects. It should be adjusted to your branding and your audience’s personality and traits.
To craft it, start by learning about copywriting. That’ll teach you how to create persuasive texts that get your leads to take the actions you want while using a language that resonates with them.

Also, make sure to address the non-verbal aspects, like the colors on your ads, in a way that makes sense for your brand.
To sell a financial product, for instance, green would be a great color as it’s often associated with wealth. Red, on the other hand, can remind people of risk and danger, which would make it a terrible choice.
Step #4: Test and track results
After you’ve got everything ready, it’s time to start running your campaigns and tracking their outcomes so you can learn what’s working and how to improve them.
To track results, the first thing you need to do is define which metrics you should focus on. Again, that depends on your campaign goals and which type of digital marketing you’re using.
Some of the most common digital marketing metrics include:
- Cost-per-click (CPC)
- Click-through rate (CTR)
- Email open rate
- Sales conversions
- Customer-acquisition cost (CAC)
Most social media platforms and advertising networks offer great analytics tools that allow you to keep track of those metrics.
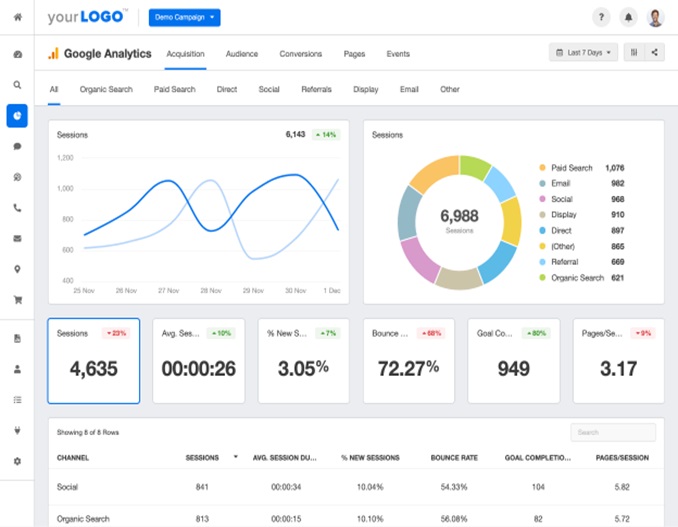
You can also go a step further and use Google Analytics to grab data from your site’s visitors. Among other things, you can learn where each visitor came from and how they’re behaving on your site.
With that info, you can compare your cost per lead in each channel with their lifetime value (LTV), which is the return they bring in revenue. That allows you to focus on the channels that bring you the highest ROI rather than just the lowest cost per lead.
Keep in mind that when it comes to longer sales funnels and brand awareness campaigns, it’ll take longer until you know for sure how much your average customer is worth.
Step #5: Optimise
Having clear metrics will allow you to know what’s working, what needs improvement, which channels to ditch, and which ones to invest more in.
Let’s say you’re running an email marketing campaign. If you’re getting low open rates, you probably need to improve your subject lines. If you’re getting good open rates, but your CTR is low, you should then focus on the content of your emails.
Run A/B tests on different aspects of your funnel that could improve your metrics, including:
- Headlines
- CTAs
- CTA button design
- Colours
- Images
- Overall copy
- Etc
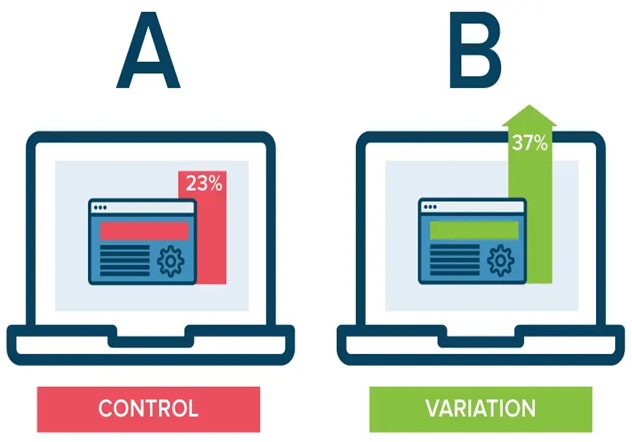
Then, start implementing the variations that work best on a full scale.
A final tip, though: avoid at all costs relying on a single digital marketing channel, as sudden changes in its policies and market behaviour could drastically affect your results overnight.
Also, never stop testing and optimising. There are always ways to improve your campaigns, and doing so is one of the greatest things you can do for your business.

